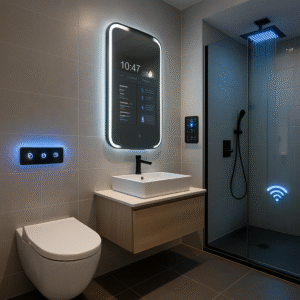
Thinking about upgrading your bathroom with a bidet toilet seat? You might be surprised to learn that you can likely install it yourself in under an hour with just a few common tools. This isn’t a complex, weekend-long project; it’s a quick and satisfying win waiting to happen.
The idea of doing your own plumbing can be nerve-wracking. Visions of accidental leaks or a toilet that won’t stop running are enough to make anyone pause. But a bidet toilet seat installation is widely considered one of the simplest and most rewarding home upgrades you can tackle, with a very low risk of anything going wrong.
So, do you need a plumber? For the vast majority of non-electric and standard electric models, the answer is a definitive no. Manufacturers design these units for a straightforward DIY installation, saving you the cost and hassle of hiring a professional for a task you can easily handle.
This guide skips the confusing jargon and provides a clear, simple process to guarantee a successful, leak-free installation. Let’s turn that box into a bathroom upgrade you’ll be proud of.
What You’ll Need: A 5-Minute Check Before You Begin
Before you unscrew a single thing, let’s do a quick check to guarantee a smooth installation. First, look at the shape of your toilet bowl. Is it nearly circular (Round), or is it stretched out into an oval (Elongated)? Your new bidet seat is designed to fit one of these two shapes, so confirming you have the right match now will save you a major headache later.
(Image showing the overhead profiles of a round and an elongated toilet, clearly labeled.)
Great, shape confirmed? The good news is you probably already have everything you need for the job. You won’t need a whole toolbox—just these three simple items:
- A Phillips Head Screwdriver
- A Small Adjustable Wrench
- An Old Towel (for catching any stray drips)
Finally, take a quick peek at the two bolts holding your current toilet seat in place. On almost every toilet in North America, these are a standard 5.5 inches apart. As long as your toilet doesn’t look unusually wide or narrow, you can be confident your new bidet seat will mount perfectly. With your tools and toilet knowledge ready, you’re all set for the first hands-on step.
Step 1: Saying Goodbye to Your Old Toilet Seat
Okay, let’s get that old seat out of the way. This first hands-on step is a simple one. Look at the back of your current toilet seat, right behind the hinges, and you’ll find two plastic caps. Using the tip of your screwdriver, gently pry these caps open. This will reveal the heads of the two long bolts that are holding the entire seat assembly onto the bowl.
Now for the slightly awkward part. You’ll need to reach underneath the rim of the toilet bowl to find the nuts threaded onto those bolts. Grasp one of the nuts and start turning it to the left (remember: “lefty-loosy”) to unscrew it. If it’s too tight to turn by hand, your adjustable wrench will give you the leverage you need. Once both nuts are off, you can simply lift the old seat away.
With the old seat gone, you have a perfect opportunity to clean a part of the toilet that rarely sees the light of day. A quick wipe-down of the surface makes the whole job more pleasant. Great work—the toilet is now prepped. Next up, we’ll tackle the single most important step for a leak-free installation: turning off the water.
Step 2: The Most Important Step—Turning Off the Water
Before you do any plumbing, even something this simple, you must turn off the water. Look for a small, oval-shaped handle on the pipe coming from the wall or floor behind your toilet. That’s the toilet shut-off valve, and it controls all the water going to your toilet. To stop the flow, turn this handle all the way clockwise (remember, “righty-tighty”) until it gently stops. You don’t need to force it.
With the water supply cut off, you now need to empty the tank. This simple trick is the key to preventing a watery mess in the next step. Just press the flush handle and hold it down until you hear the tank is completely empty. You’ll notice the tank doesn’t refill—that’s how you know the water is successfully off and you’re ready to proceed.
There you have it. The tank is empty and the water is safely off, ensuring your installation remains a dry and stress-free project. You’re now ready to tackle the main plumbing part: connecting the bidet to your water supply. In the next step, we’ll add a simple splitter to get water flowing to your new bidet.
Step 3: How to Safely Split the Water Supply for Your Bidet
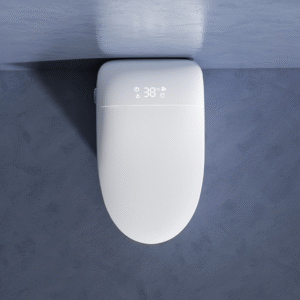
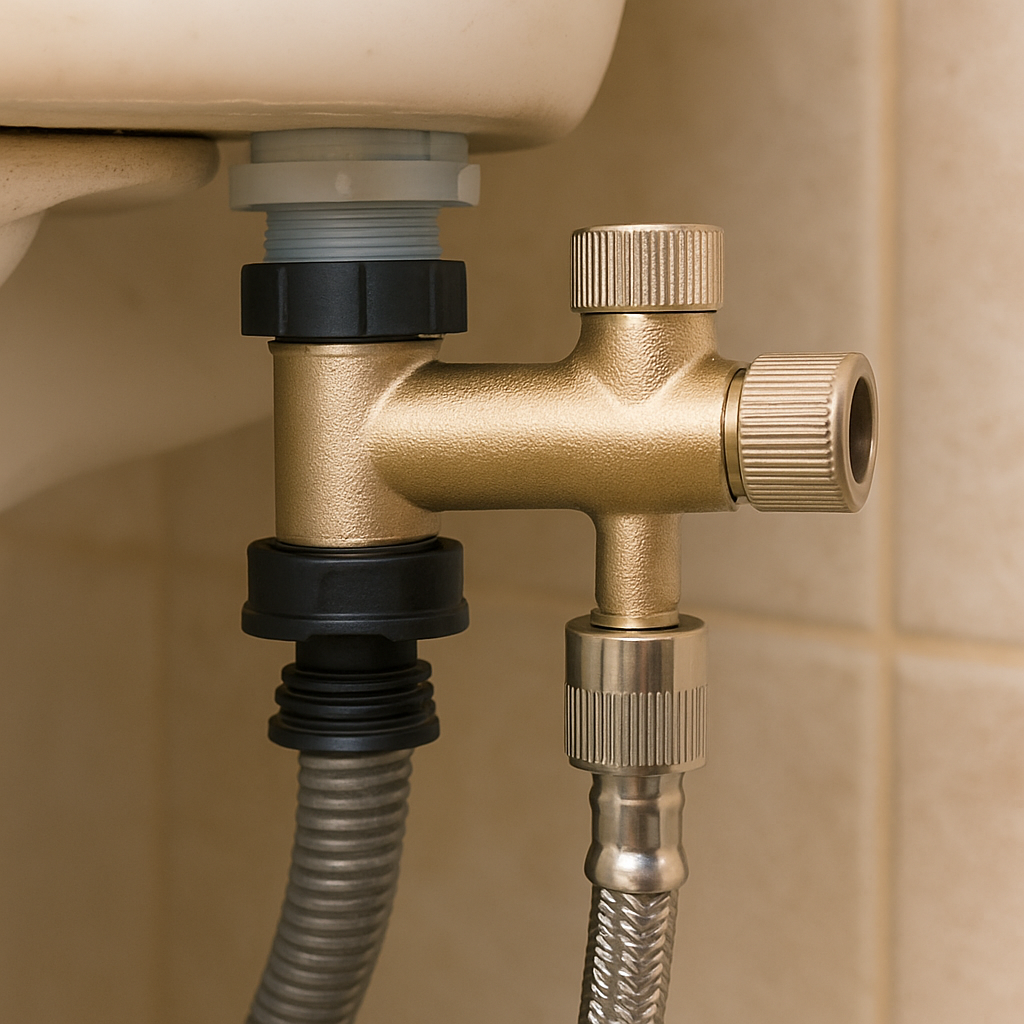
This little metal piece in your kit, shaped like the letter ‘T’, is the star of the show. It’s called a T-adapter (or T-valve), and its only job is to work as a simple splitter. Think of it like a headphone splitter for your water line. This is the key part for connecting the bidet to the water supply, as it will send water to both your toilet tank and your new bidet seat without you having to do any complex plumbing.
Now, where does it go? Your first instinct might be to connect it to the valve on the wall, but it actually installs directly underneath the toilet tank. Look under the tank and find where the flexible water supply line (the hose) screws onto a plastic threaded part. That plastic part is the tank’s fill valve connection. This is exactly where you’ll attach the T-adapter. Unscrew the supply line from the tank, and you’re ready for the next move.
Here is the most important tip for a leak-free connection: always start threading by hand. Take the T-adapter and gently screw its top opening onto the fill valve connection you just exposed. Threading it by hand first prevents “cross-threading”—getting the threads misaligned—which can damage the parts and cause drips. Once it feels snug, re-attach the water supply line to the bottom opening of the T-adapter, again starting by hand before giving it a final gentle turn with a wrench. This simple process is central to attaching a bidet seat properly.
Take a look at your work. As shown in the photo, the T-adapter should now be sitting securely between the tank and the supply line, with one open connection pointing out to the side. That side port is where your bidet’s hose will connect in a later step. You’ve just finished the trickiest part of the installation. With the plumbing prepped, it’s time to get your new seat onto the toilet.
With the water supply ready to go, you can now focus on the main event: getting the new seat onto the toilet. Unlike your old seat that bolted on directly, most bidet seats use a clever two-part system. In your kit, find the plastic mounting plate. Think of this piece as a sturdy docking station that you’ll install first, creating a secure base for the bidet seat itself. This makes cleaning and maintenance much easier down the road.
Step 4: Mounting Your New Bidet Seat to the Toilet
Now, place the mounting plate over the bolt holes on your toilet bowl and insert the provided bolts and brackets, leaving them slightly loose. Notice that the plate can slide forward and backward. This adjustability is the secret to a perfect fit, allowing you to fix minor alignment issues and ensure compatibility between round and elongated toilet seats. Slide the plate into a centered position, then tighten the bolts until they are snug and the plate doesn’t wiggle.
The final move is the most satisfying. Align the back of the bidet seat with the front of the mounting plate and gently slide the seat backward. You will hear and feel a distinct “CLICK” as it locks into place. That sound is your confirmation that the seat is secure. Give it a gentle tug to be sure. Congratulations, your bidet seat is now physically attached to the toilet and you’re just one connection away from being finished.
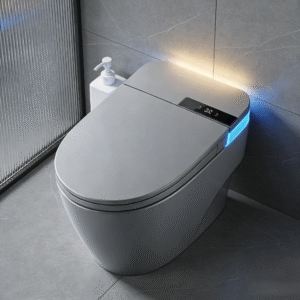
For Electric Bidets: The Critical GFCI Outlet Check
If your bidet has a power cord, this next step is the single most important one for your safety. The key difference in installing an electric versus a non-electric bidet comes down to a vital electrical check. Before you plug it in, you need to confirm you have the right kind of power source nearby.
Take a moment and look at the wall outlet you plan to use. Does it have two small buttons between the sockets, typically labeled “TEST” and “RESET”? If it does, you have what’s called a GFCI (Ground Fault Circuit Interrupter) outlet. Think of this as an intelligent safety switch. It’s designed specifically for use near water, and if it detects even the tiniest electrical imbalance—the kind that could cause a shock—it shuts off the power in a split second.
This is non-negotiable: a GFCI outlet is required to protect you. If your nearby outlet does not have these two buttons, you must stop here. Do not use the bidet, and do not use an extension cord to reach another room. The only safe path forward is to have a qualified electrician install a GFCI outlet for you. If your outlet did have the test and reset buttons, you’ve passed this crucial safety check and are ready for the final connections.
Step 5: The Final Check—Turning on Water and Testing for Drips
Alright, this is the moment of truth. You’ve successfully connected all the parts, and now it’s time to bring the water back into the picture. There’s no need to be nervous; we’re going to do this slowly and methodically to ensure every connection is perfectly sealed before you officially finish the job. This final check is what separates a good installation from a great one.
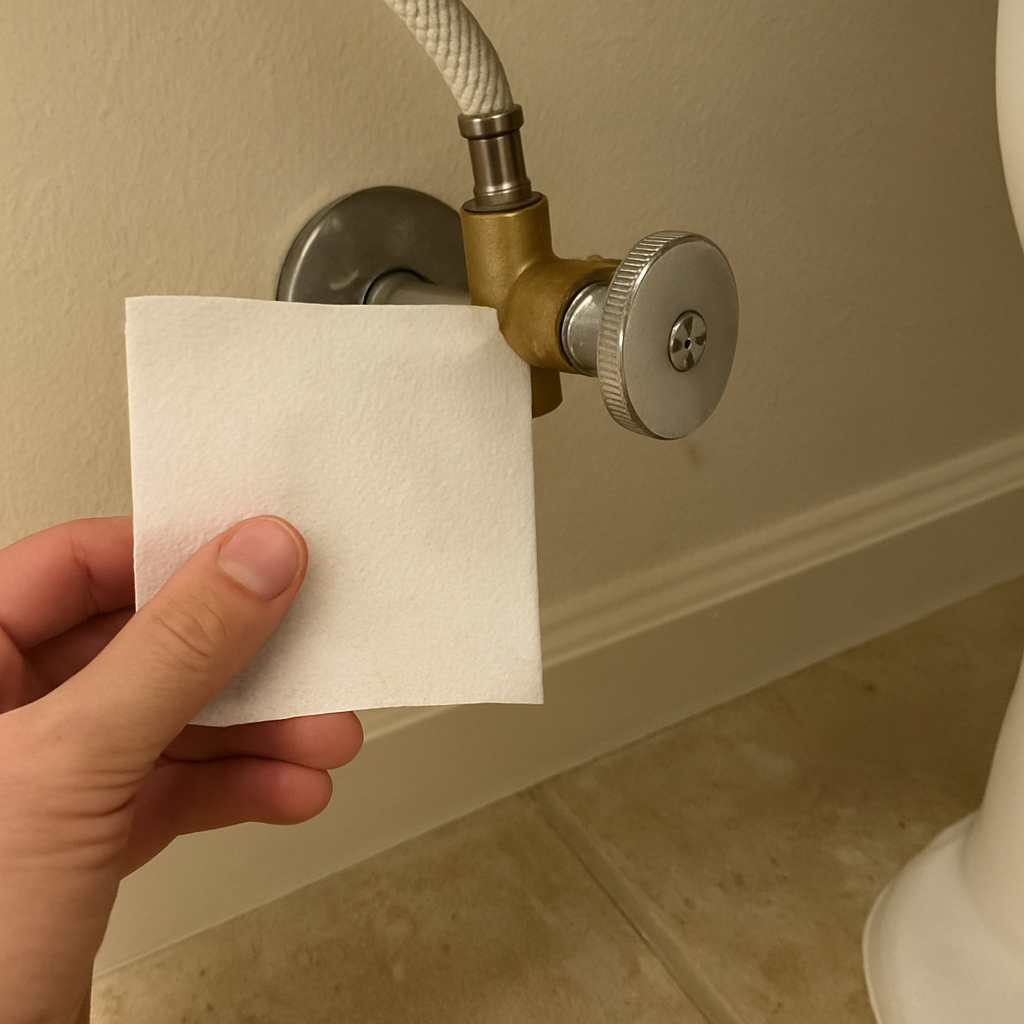
Head back to that shut-off valve on the wall. Instead of cranking it all the way open at once, turn it counter-clockwise (lefty-loosy) just a quarter of the way. You’ll hear the toilet tank begin to fill. Keeping the flow gentle like this after connecting the bidet to the water supply is a pro tip; it helps you spot any potential issues without having to deal with full water pressure.
Now for the secret weapon against a bidet leaking after install: a single square of dry toilet paper. While the water is on, press the paper firmly against each of the three connection points on your new T-adapter. Check where it joins the toilet tank, where it meets the main water supply hose, and where your new bidet hose connects. Even the tiniest, nearly invisible bead of moisture will immediately show up on the dry paper.
If you do spot a small drip, don’t panic—this is very common and simple to fix. Turn the water off again, and then give the leaky connection a small extra nudge with your wrench. The goal is what plumbers call “hand-tight plus a quarter turn.” Any more than that risks cracking the fitting or damaging the rubber seal inside. Once you’ve given it that little snug, turn the water back on and test again with a fresh piece of paper. If it’s bone dry, you can now turn the water valve all the way on.
Congratulations! You’ve Just Upgraded Your Bathroom
Take a step back and admire your work. What might have seemed like a job for a professional is now a finished project you handled yourself. You followed the steps, tackled a bit of plumbing, and completed your own bidet toilet seat installation. That’s a major bathroom upgrade you can feel proud of, all without needing to call a plumber.
Now for the fun part. Before your first use, find the water pressure control on your new seat. Start on the very lowest setting. This gentle introduction is the best way to get comfortable and discover what works for you; you can always adjust the pressure later as you get used to the experience.
This project was about more than just following a step-by-step setup guide. That feeling of accomplishment is proof that you can confidently take on projects around your home. An intimidating task is now a new skill you own, opening the door to your next successful DIY win.